Using extension engine
Since 2.6, the plugin engine has been completely rewritten and improved.
Note : Be careful to download the plugin version compatible with the extension engine
Prerequisites for the extension engine
To use the extension engine, Python3 is required.
First, you need one python's package : scp. Install it with the command pip3.
On debian based systems :
sudo apt install python3-scp
On redhat based systems :
yum install epel-release
yum update
yum install python34 python34-pip
sudo pip3 install scp
Installation
Installing a plugin on your server(s) occurs in 3 steps:
- Installation of the extension package on the Administration server's filesystem;
- Activation of the extension via the Administration console;
- Installation of the extension for the Communication server.
Once the plugin is installed on your server(s) you still have to deploy an agent-part on all your agents.
Plugin installation on filesystem
First download the extension here:
Github : https://github.com/PluginsOCSInventory-NG
OR
Plugin site : https://plugins.ocsinventory-ng.org/
Then, place the downloaded zip file in the extensions folder of your Administration server and unzip it.
The Administration server's extensions folder is /usr/share/ocsinventory-reports/ocsreports/extensions by default
You may delete the zip file after it is unzipped.
Plugin activation
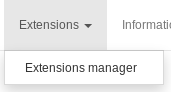
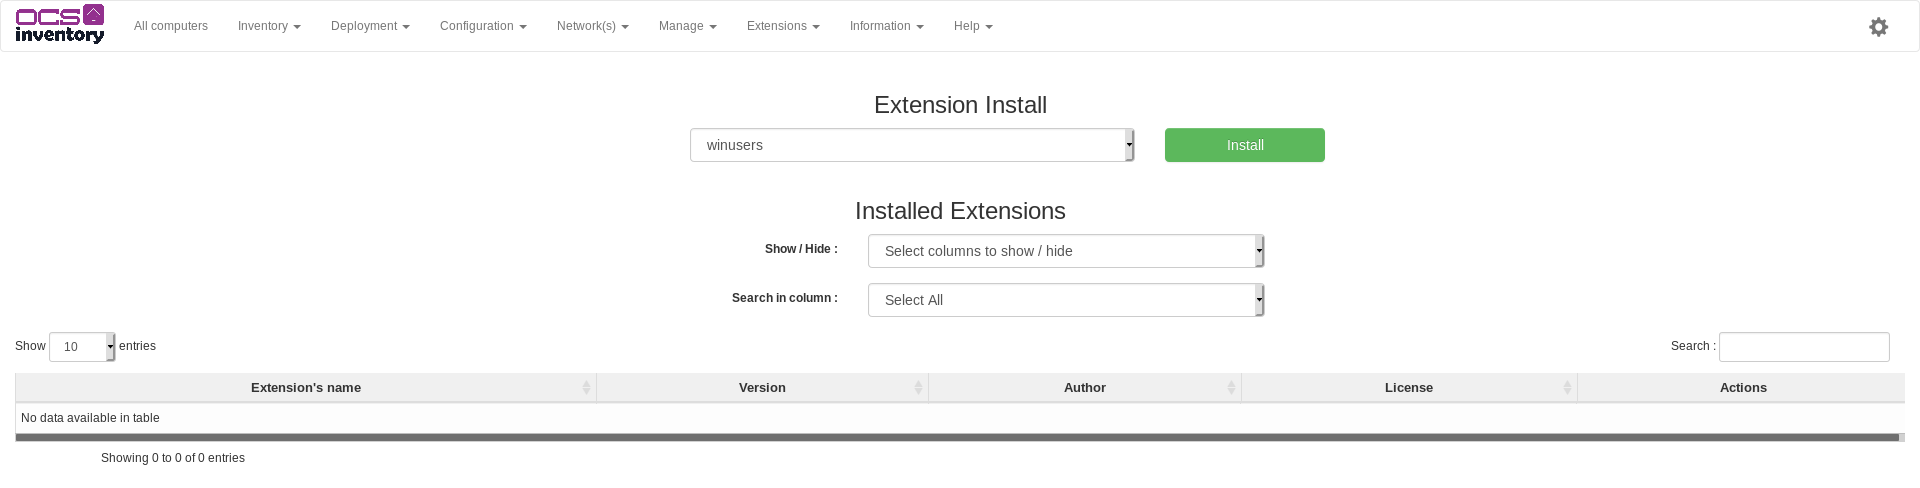
Log into your Administration console and go to the "Extensions" tab.
Select the plugin and click on "Install".
If the newly installed plugin implements a specific page, remember to modify your users' profiles to grant them access to the plugin page. This can be done from the profile configuration.
Logout and login to finish the web installation.
You can now proceed with the installation on your Communication server.
Scripted communication server installation
To install your plugin on the Communication server, the install_plugin.py may be used.
On your Administration server, go to the /usr/share/ocsinventory-reports/ocsreports/tools
folder, and execute the script with sudo:
sudo python3 install_plugin.py
Enter the path to your Administration server's extensions folder:
Where is the plugins location [/usr/share/ocsinventory-reports/ocsreports/extensions/]
/path/to/plugin/
Don't forget the last slash
After, the script will present you all the plugins that can be installed. Select the number of the plugin that you want to install:
[0] => plugin1
[1] => plugin2
[2] => plugin3
...
0
Now there are two specific cases:
- OCS Comuunication server is on the same server.
- OCS Communication server is on an other server.
In the case where your Communication server is on an another server, you need to enter the server's informations:
What is the host:
127.0.0.1
What is the username:
root
What is the password:
Password:
In both case, you will have to enter the path of your Communication server's configuration directory:
Where is the server location [/etc/ocsinventory-server]
The script will copy all the needed files into your Communication server's configuration directory.
Note : Don't forget to restart your Communication server's apache service after the installation has finished
Server installation without script
To install plugins without the install_plugin.py script, log into your Communication server and go to the configuration
directory (By default "/etc/ocsinventory-server/").
There, create a new directory into "perl/Apache/Ocsinventory/Plugins/" with the name of the plugin :
sudo mkdir /etc/ocsinventory-server/perl/Apache/Ocsinventory/Plugins/PluginName
Note : Don't forget to put the first letter in uppercase
Next, place the Map.pm file inside.
sudo cp Map.pm /etc/ocsinventory-server/perl/Apache/Ocsinventory/Plugins/PluginName/
Finally, place the plugin's configuration file into the "plugins/" folder.
sudo cp pluginname.conf /etc/ocsinventory-server/plugins/
Note : Don't forget to restart your Communication server's apache service after the installation has finished
Windows Plugin deployment
Now that your Administration and Communication servers support your plugin, you need to deploy the agent part on you clients.
The plugin's agent part is usually located in the agent subfolder of your plugin's zip file.
So, find this folder back and create a zip file containing all the files in this folder.
Then, create a deployment package with the Store action as explained in
Deploying packages or executing commands on client hosts
Specify C:\Program Files (x86)\OCS Inventory Agent\Plugins as the path where the files need to be copied on the agents.
Unix plugin installation
To install unix agent plugin, copy the Myplugin.pm, usually located in the agent subfolder of your plugin's zip file, to /usr/local/share/perl/{perl version}/Ocsinventory/Agent/Modules.
When installing using the RPM package the directory might change to /usr/share/perl5/Ocsinventory/Agent/Modules.
Then, edit the file /etc/ocsinventory/modules.conf and add this line :
use Ocsinventory::Agent::Modules::Myplugin;
To verify that the plugin is working correctly, run the command :
perl modules.conf
If the command returns an error, it indicates that the plugin is not loading properly.
Uninstallation
Uninstalling a plugin on your server(s) occurs in 2 steps:
- Deactivation of the extension via the Administration console;
- Uninstallation of the extension for the Communication server.
Once the plugin is uninstalled from your server(s) you may remove the agent-part from your agents (optional).
Plugin deactivation
Log into your Administration console and go to the "Extensions" tab.
Click on the red cross next to the plugin in the list of activated plugin.
Uninstallation from the Communication server
To uninstall the plugin from the Communication server, log in via ssh and delete the plugin's configuration file from the plugin folder (By default "/etc/ocsinventory-server/plugings").
Then, restart your web server.